
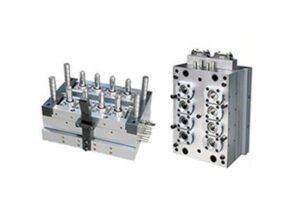
HDPE Plastic Injection Molding Manufacturer set the starting position of mold protection, anything in the mold may be damaged.
In addition to the injection molding machine itself, the second most expensive equipment we use daily is the mold. When the mold is damaged, you not only have to bear the cost of repair, but also the downtime and labor costs. This is why it is so important to set up mold protection to prevent damage. If done correctly, you can stop the mold on something as thin as a business card. Here are the three key components to setting up mold protection on the injection molding machine.
1. Starting position of mold protection
Here is a simple way to think about the starting position: When the mold is closed, when do you get to the point where the mold may break? When the mold hits the guide pin, this is where we want to start protection.
Close the mold until there is a small gap between the half mold and the protruding part of the other half that is at risk of damage. Then look at the mold position on the controller to see where you want the mold protection to start. Generally, we set the low-pressure mold protection position to 1.69 inches, and this is where the mold protection starts.
2. Mold protection end position
Once the mold is completely closed, you want to stop protecting the mold. This is called the mold closing position or mold contact position on the machine. Clamp the mold in manual mold setup mode until there is no gap between the mold halves. Read the position on the machine controller and the mold position is 0.03 inches. Set the clamp position on the machine to slightly above the actual position to protect it.
3. Speed and pressure during mold protection
Now that we have determined the start and end points of mold protection, we need to set the speed and pressure that the machine is allowed to reach during mold protection. Generally, you want to slow down during this transition and set the pressure low enough so that if something is blocking the mold half, it will stop the mold closing movement and sound the mold closing alarm.
Closing pressure is the most important aspect of mold protection settings. You want to use as little pressure as possible to close the mold.
The pressure aspect is the most important setting for mold protection. You want to use as little pressure as possible to move the mold from the mold protection starting position to the mold closing position. If the pressure is too high, the clamp may not stop on the part that is in the way. You can experiment by slowly reducing the pressure, eventually reaching a point where the mold no longer reaches the clamp position – but be sure to do this with a clean and greased guide pint and grid. Whenever the die is not clamped, resist the urge to increase the pressure because something may be in the way or the guide pins may be dirty.